Eight Week Pregnancy – What if I don’t have an EndoVaginal probe?
We are all aware by now that early gestations are most often optimally visualized with transvaginal ultrasound, however, not all machines are equipped with an endovaginal (EV) probe. You may also experience other limitations such as a single EV probe for multiple machines that is in use or being disinfected, yet you need to move on and scan the patient that is waiting. There are many different circumstances where this lack of an available EV probe may come into play.
It is possible to scan an early gestation abdominally. Your imaging may lack in quality, however, there are things you can do to optimize your images and get your best image quality possible with a transabdominal probe.
Have the patient start with a full bladder. The bladder acts as a window and will give you better images than those with an empty bladder. Choose a probe with a high frequency. If you have an option, choosing a probe with a higher frequency will give you better penetration. 3D/4D probes usually have less frequency and penetration than other probes. Use zoom and adjust the gain and focal zones to optimize images and clear up borders. Also, you can adjust the depth to help bring your area of focus to the top of the screen. Do not feel as though you are limited to the first trimester setting on your machine. Sometimes, the penetration settings offer better image quality, especially if the patient is obese.
In the following case study, you will see an ultrasound performed abdominally at 8-weeks’ gestation and some recommendations for optimizing image quality.
Case Study
Patient presented as a 20-year-old G1 with a positive pregnancy test. LMP is noted to be March 26. Her BMI is 21.51, so fortunately, she is thin. This may not always be the case though and that’s ok!
Assess for Intrauterine Pregnancy
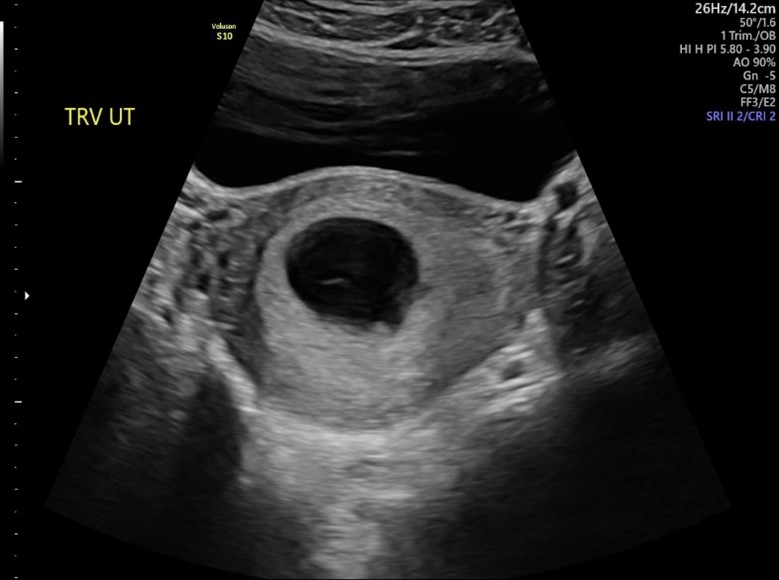
To begin the exam, sagittal and transverse sweeps of the pelvis was performed. During the sweeps, we are evaluating for the 5 A’s. Below are still images of the sagittal and transverse uterus. Notice the very full bladder anterior to the uterus. This is an anteverted uterus. We can see a single intrauterine pregnancy.

Establish Viability
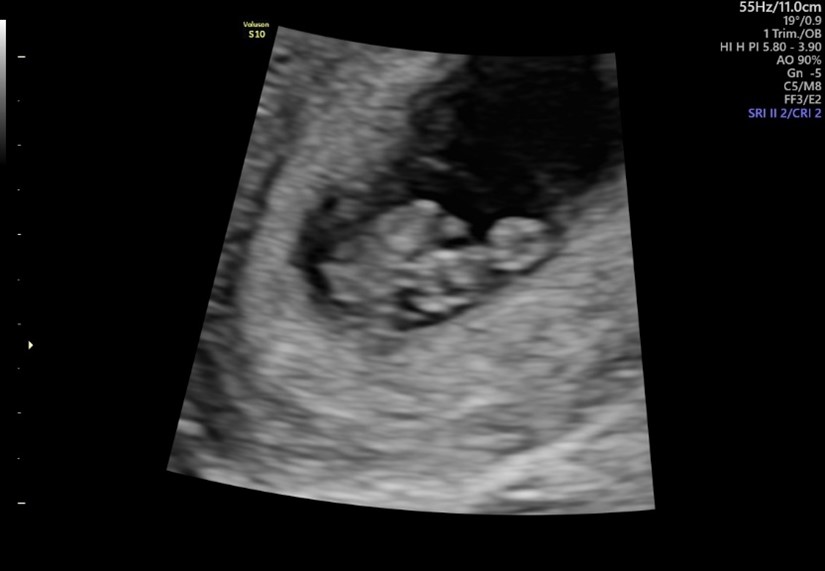
Since we established an intrauterine pregnancy, we can zoom up and evaluate the fetal pole. Using m-mode only, we can measure the fetal heart rate which was normal at 180bpm.

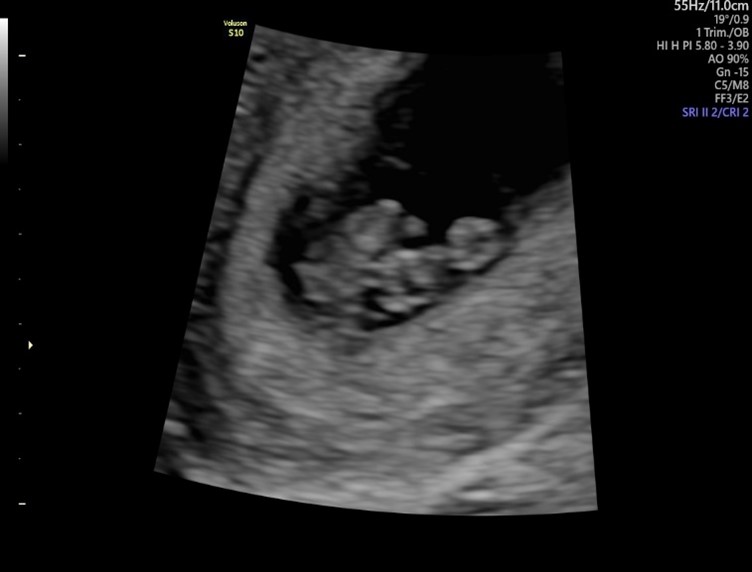
Here is an example of decreasing your gain to optimize the images. These two images are exactly the same, but I used post-processing to darken the image on the right by adjusting gain. This helps the borders stand out a little more and gets rid of the artifact we were seeing anterior to the fetal pole.
Establish Gestational Age
This helps sharpen our image to take more accurate CRLs. Examples of this are seen below:
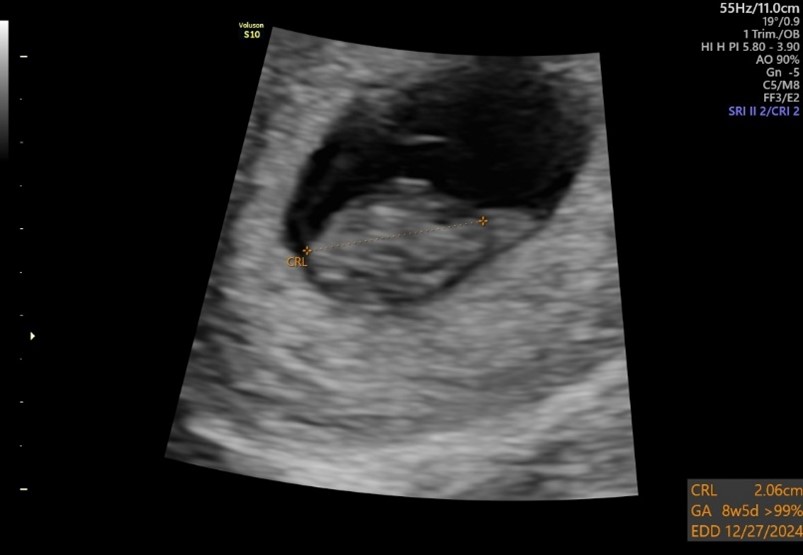
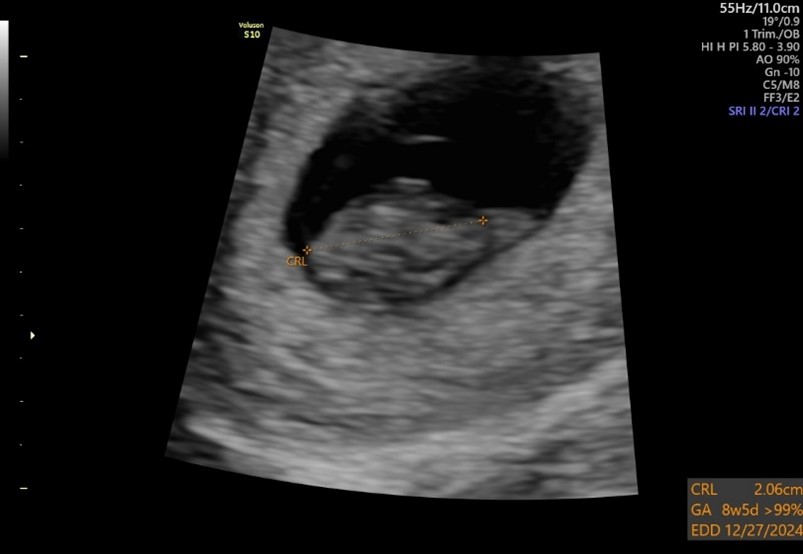
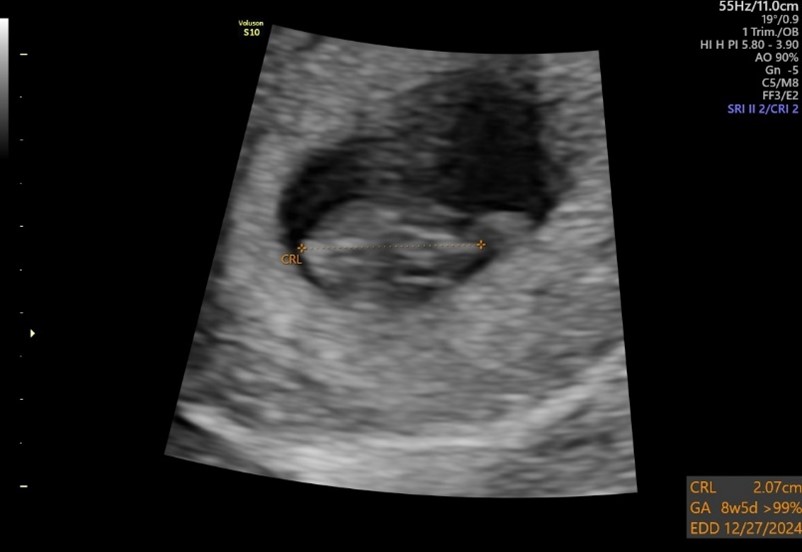
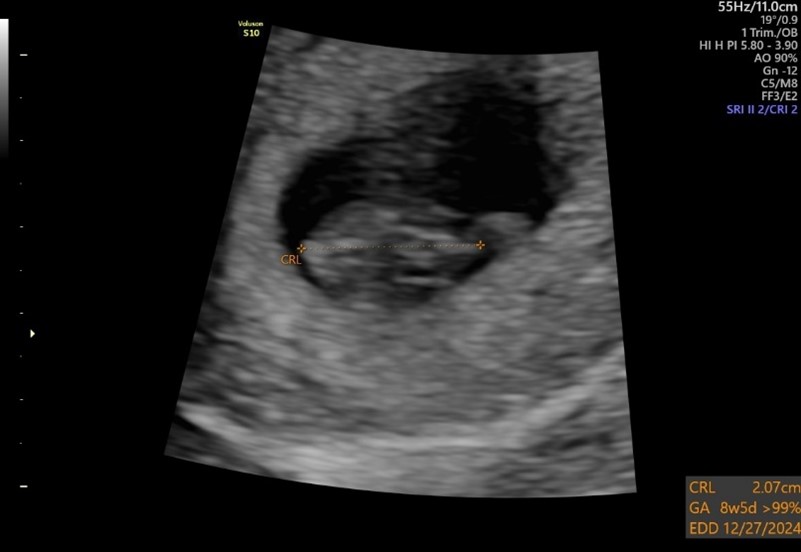
Again, these are the same images – left side with increased gain and right side with decreased gain. Notice the removal of some of the artifact, sharper borders, the focal zone is just below the fetal pole.
I obtained 3 CRL, as we always should. A normal yolk sac was also visualized.
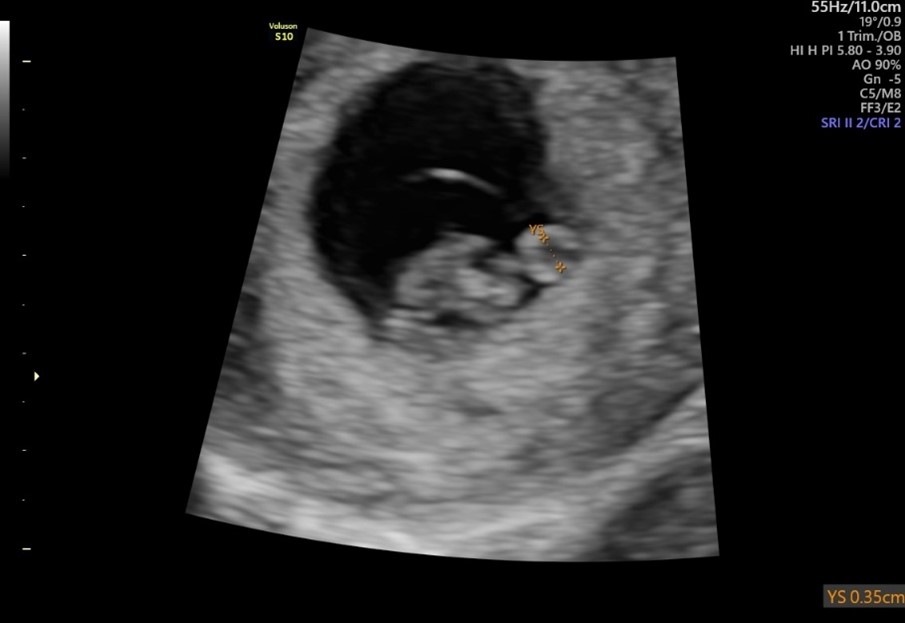
Evaluate the Adnexa
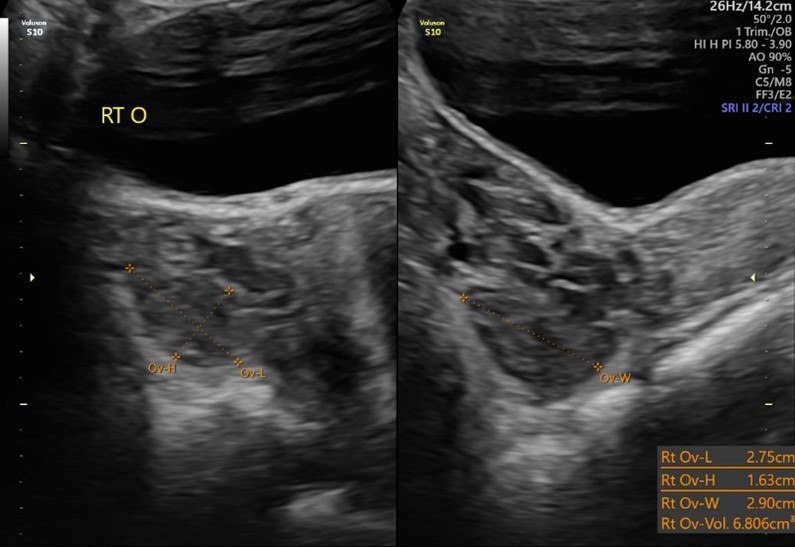
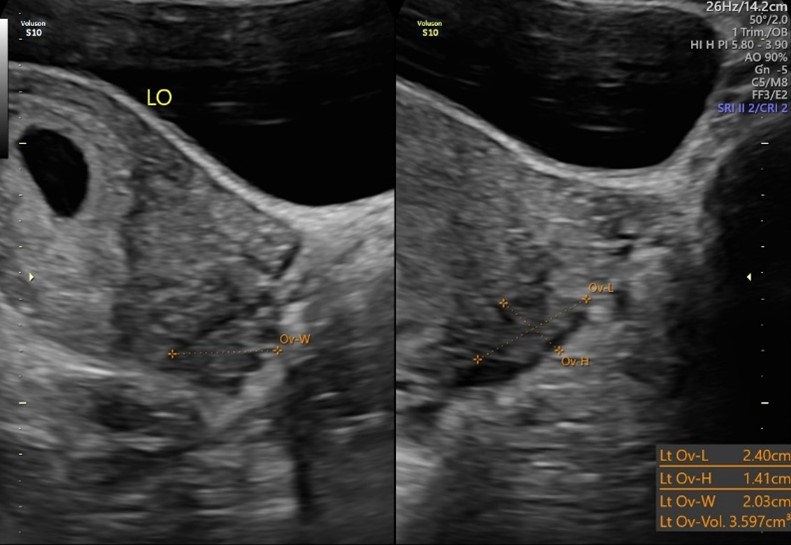
During the first trimester scan, each adnexa and the ovaries should be evaluated. Both ovaries were normal. A corpus luteal cyst was not visualized on this scan.
Report Page
Finally, we come to our report page. We can see that the fetal pole measured on track with the patient’s LMP of March 26. There is only a 3-day difference, so using the ACOG guidelines for dating a pregnancy, we will not change the due date based on this ultrasound.

This is a normal, first trimester transabdominal ultrasound. No follow up is indicated.
